
How to Plant Spring Bulbs for a Colourful Spring Garden
Few gardening jobs offer such a long-awaited reward as planting spring bulbs in autumn. After months hidden beneath the soil, the first shoots and flowers of spring are a reminder that the time and effort invested the previous season has paid off.
From cheerful daffodils and elegant tulips to fragrant hyacinths and early-flowering crocuses, spring bulbs bring colour to gardens of every size while providing an important source of nectar for bees and other pollinators emerging from winter.
This guide explains how to choose, plant and care for spring bulbs, helping you enjoy reliable displays that return year after year.
π· Why Plant Spring Bulbs in Autumn?
Spring bulbs require a period of cold weather to trigger flowering. By planting them during autumn, you give them time to establish strong roots before winter arrives.
Benefits of planting spring bulbs include:
- Reliable spring colour when little else is flowering
- Easy maintenance and excellent value for money
- Suitable for borders, lawns, containers, and woodland areas
- Valuable food source for early pollinators
- Opportunities for succession planting and extended flowering displays
π Expert Tip: Plant a mixture of early, mid-season, and late-flowering bulbs to enjoy colour from late winter right through to late spring.
πΌ The Best Spring Bulbs to Plant
Choosing a variety of spring bulbs allows you to enjoy colour from late winter through to late spring. Whether you’re planting borders, lawns, woodland areas, or containers, there’s a bulb to suit every garden style.
π· Classic Spring Bulbs for Colour and Impact
These garden favourites deliver reliable spring colour and are among the easiest bulbs to grow.
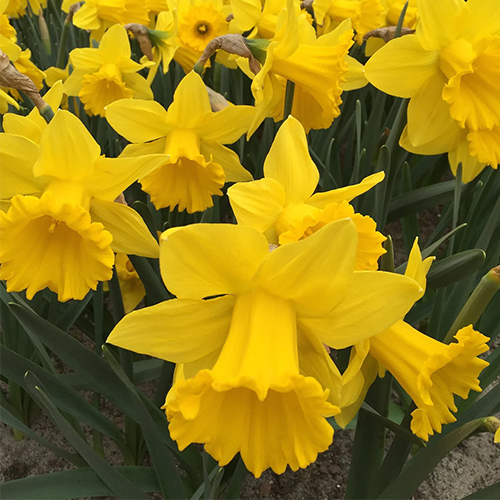
Daffodils (Narcissus)
Reliable and easy to grow, daffodils return year after year with cheerful blooms in shades of yellow, white, and orange.
Flowers: Late winter to late spring
Ideal for: Borders, lawns, and naturalising
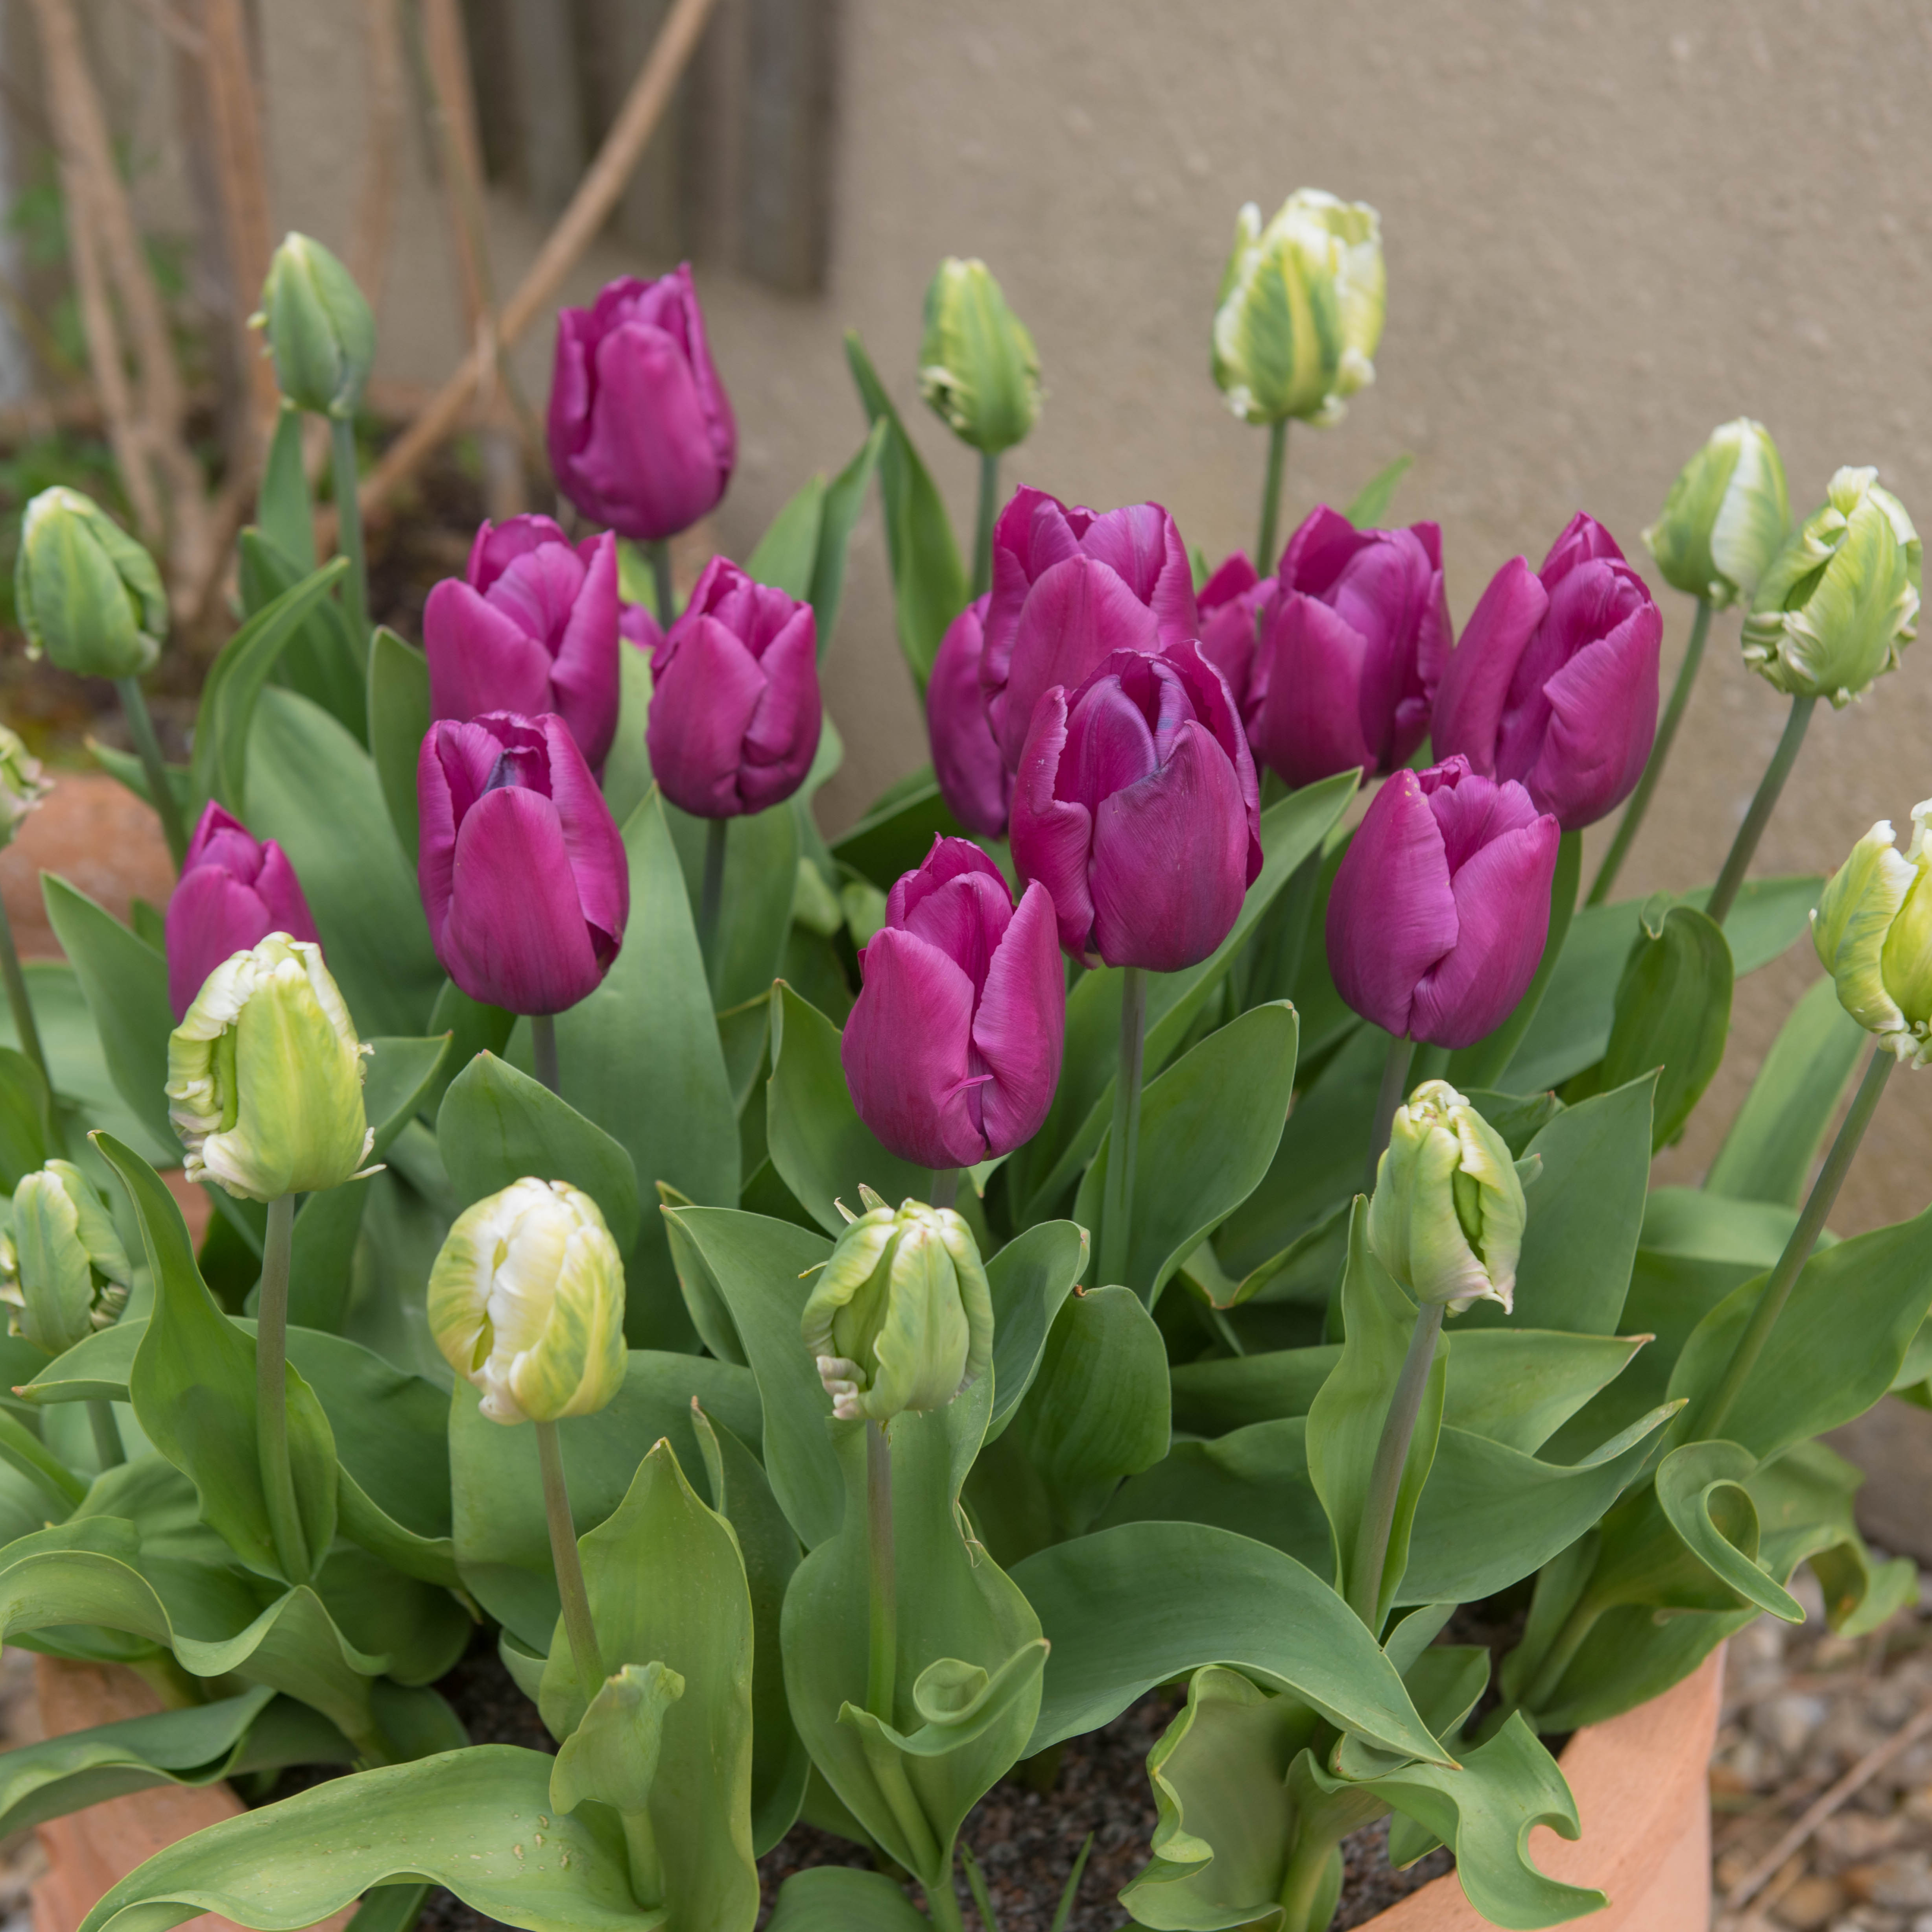
Tulips
Available in almost every colour imaginable, tulips bring elegance, structure, and vibrant spring colour.
Flowers: Mid to late spring
Ideal for: Borders, formal planting schemes, and mixed displays
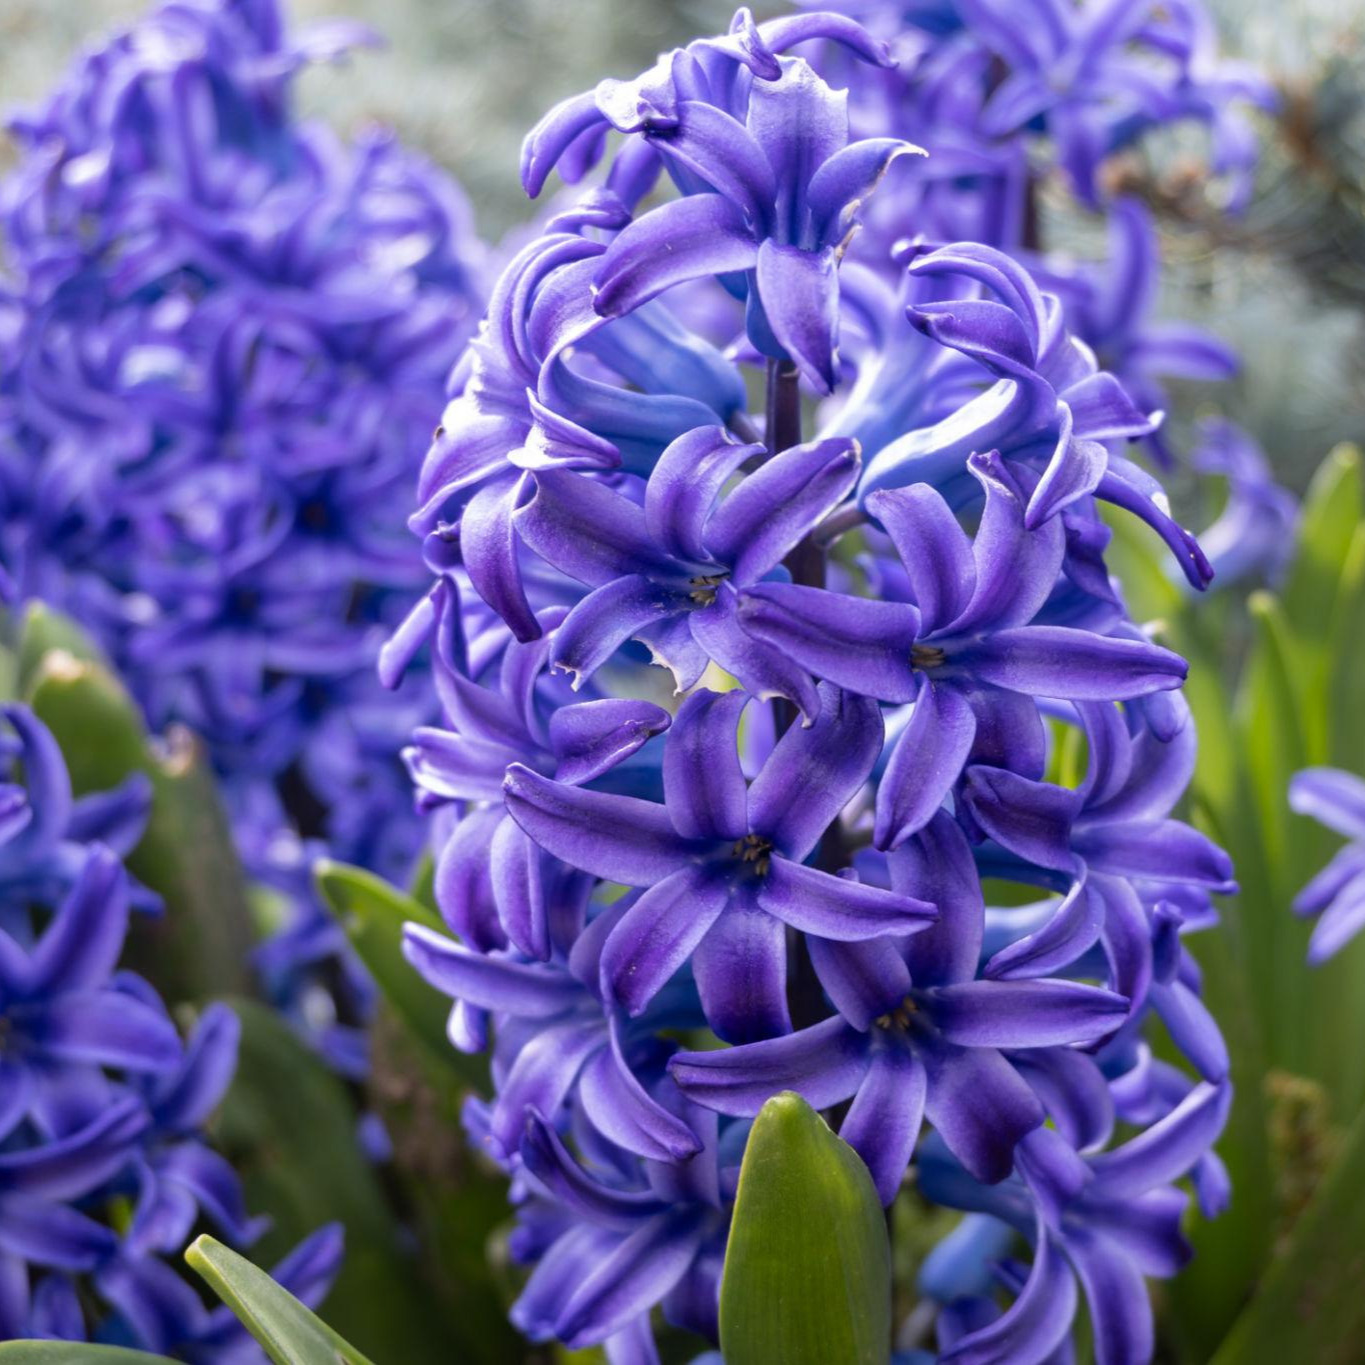
Hyacinths
Loved for their rich fragrance and dense flower spikes, hyacinths are perfect planted close to paths and seating areas.
Flowers: Mid-spring
Ideal for: Borders and scented garden displays
These early-flowering bulbs provide an important source of nectar and pollen when food sources are scarce in the garden.
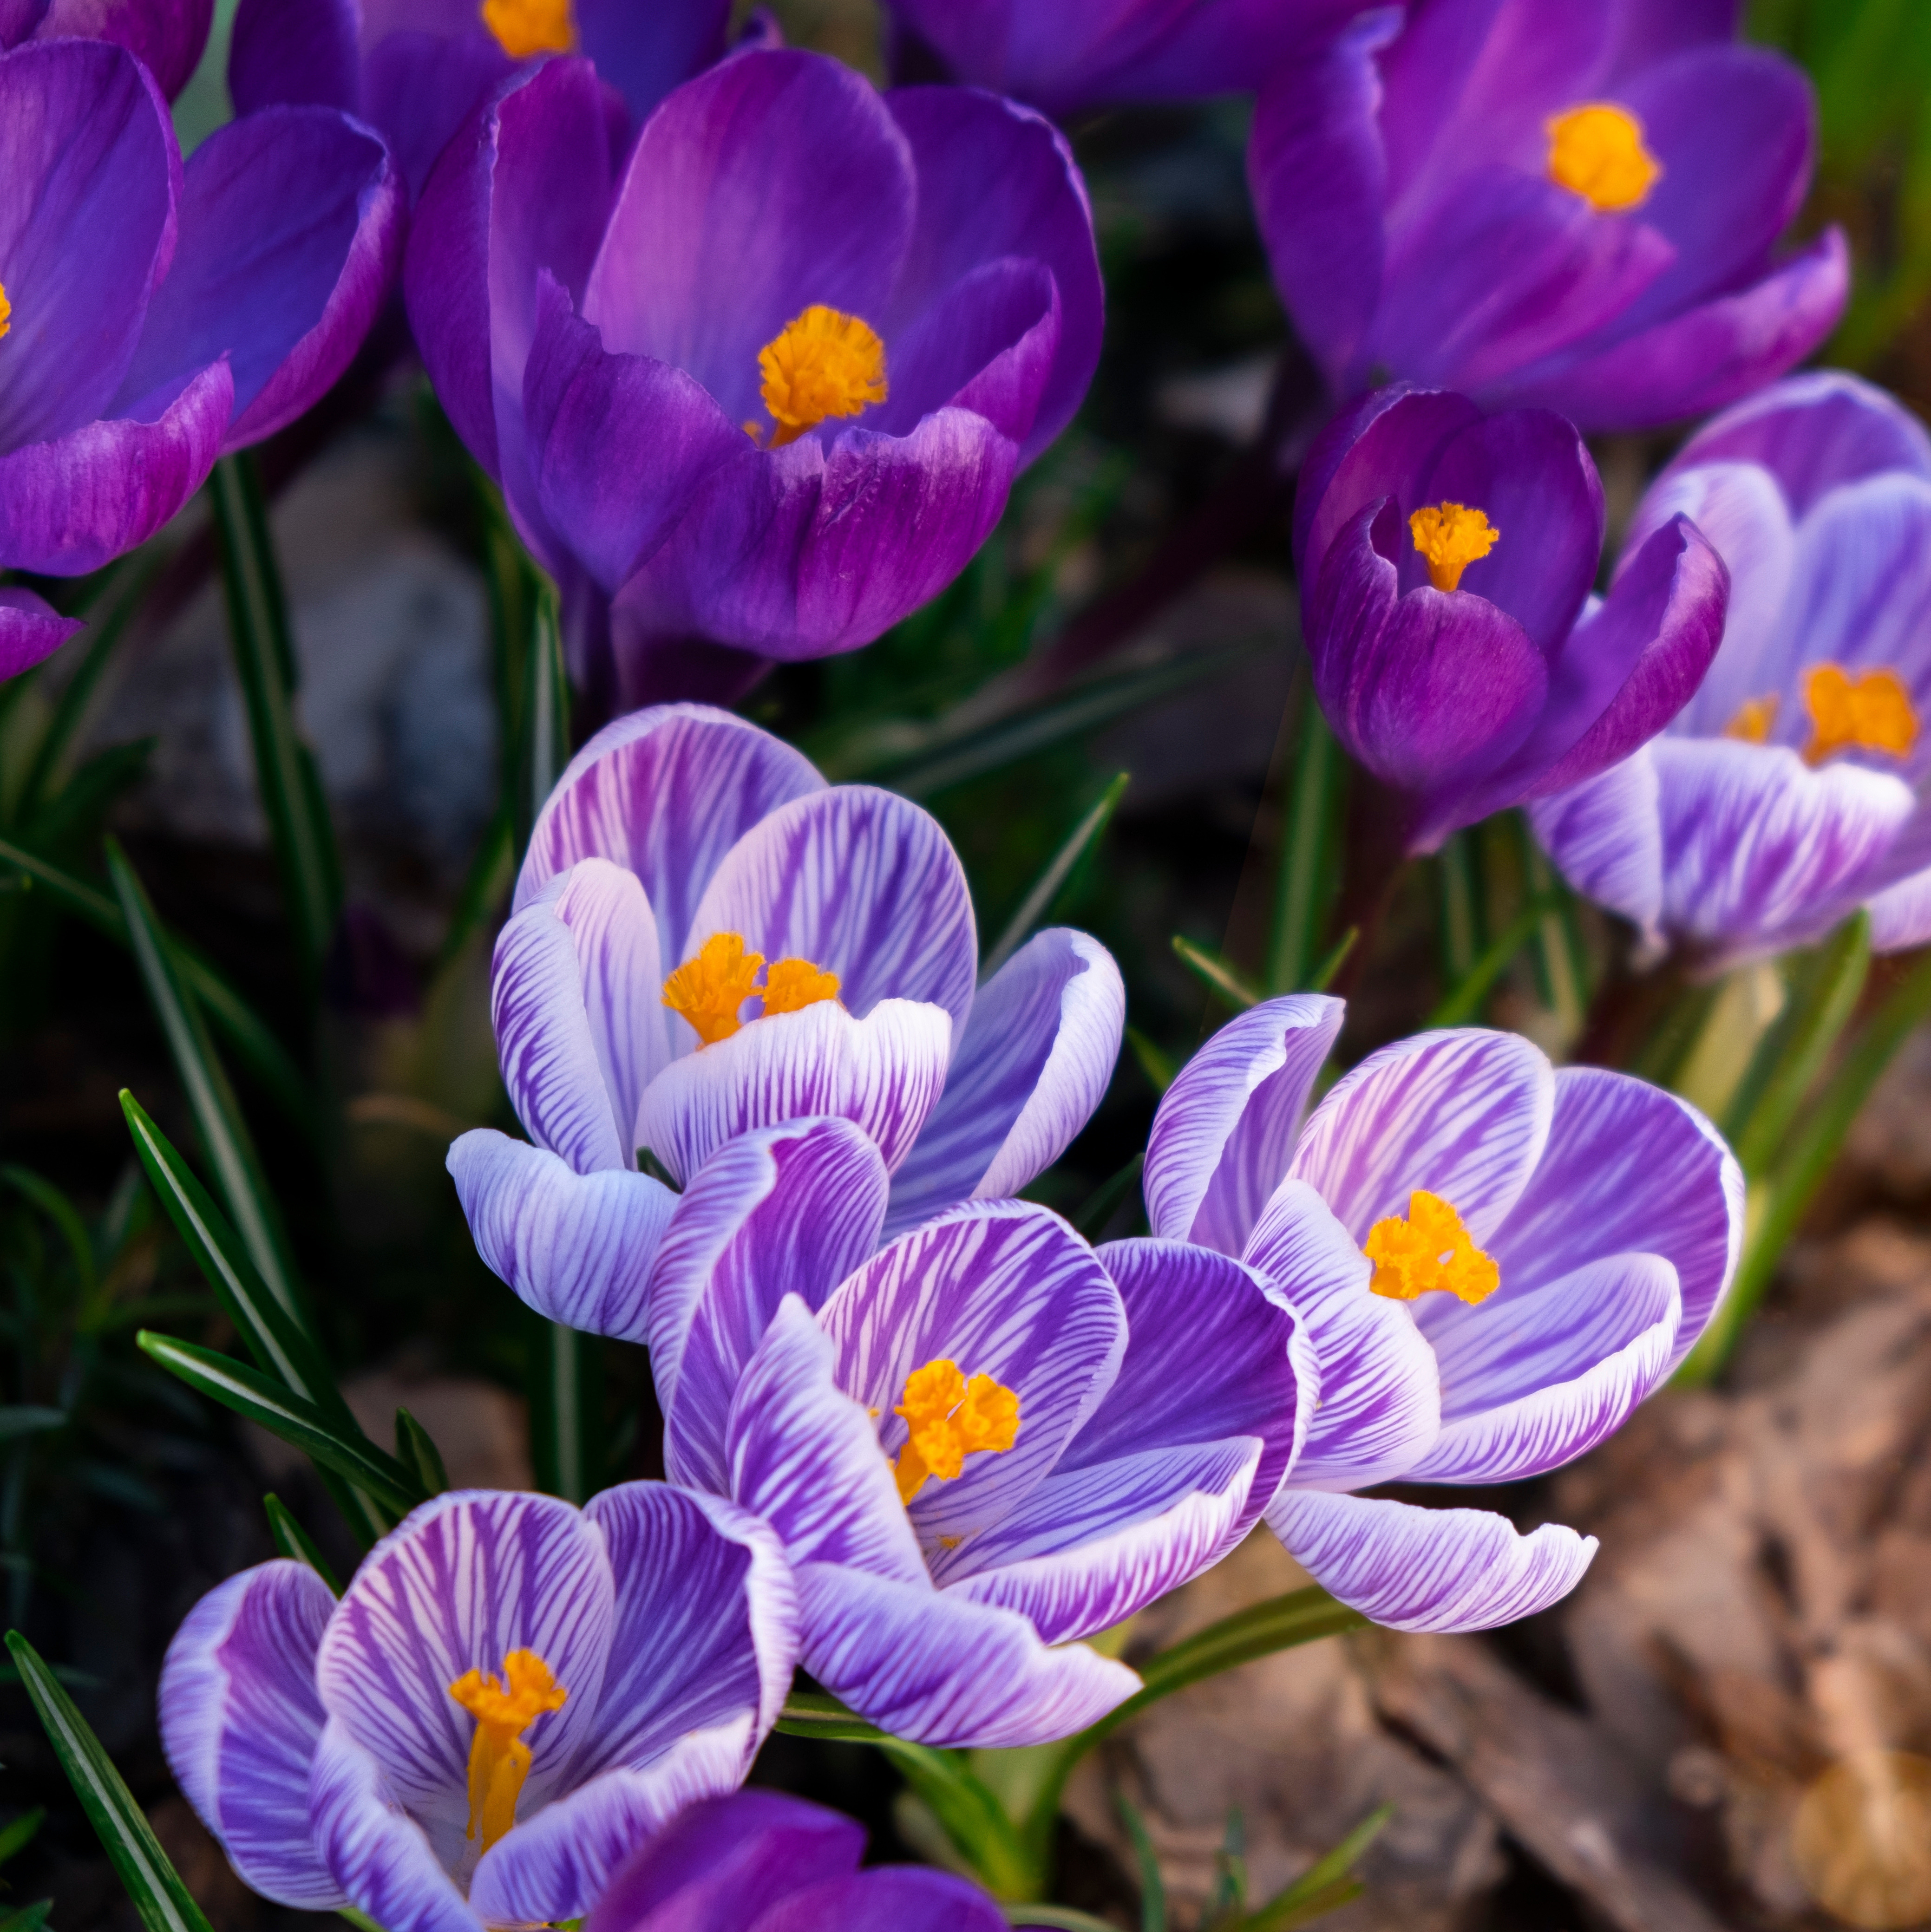
Crocuses
Among the first flowers to appear, crocuses brighten the garden with vibrant colour while supporting early pollinators.
Flowers: Late winter to early spring
Ideal for: Lawns, borders, and rockeries
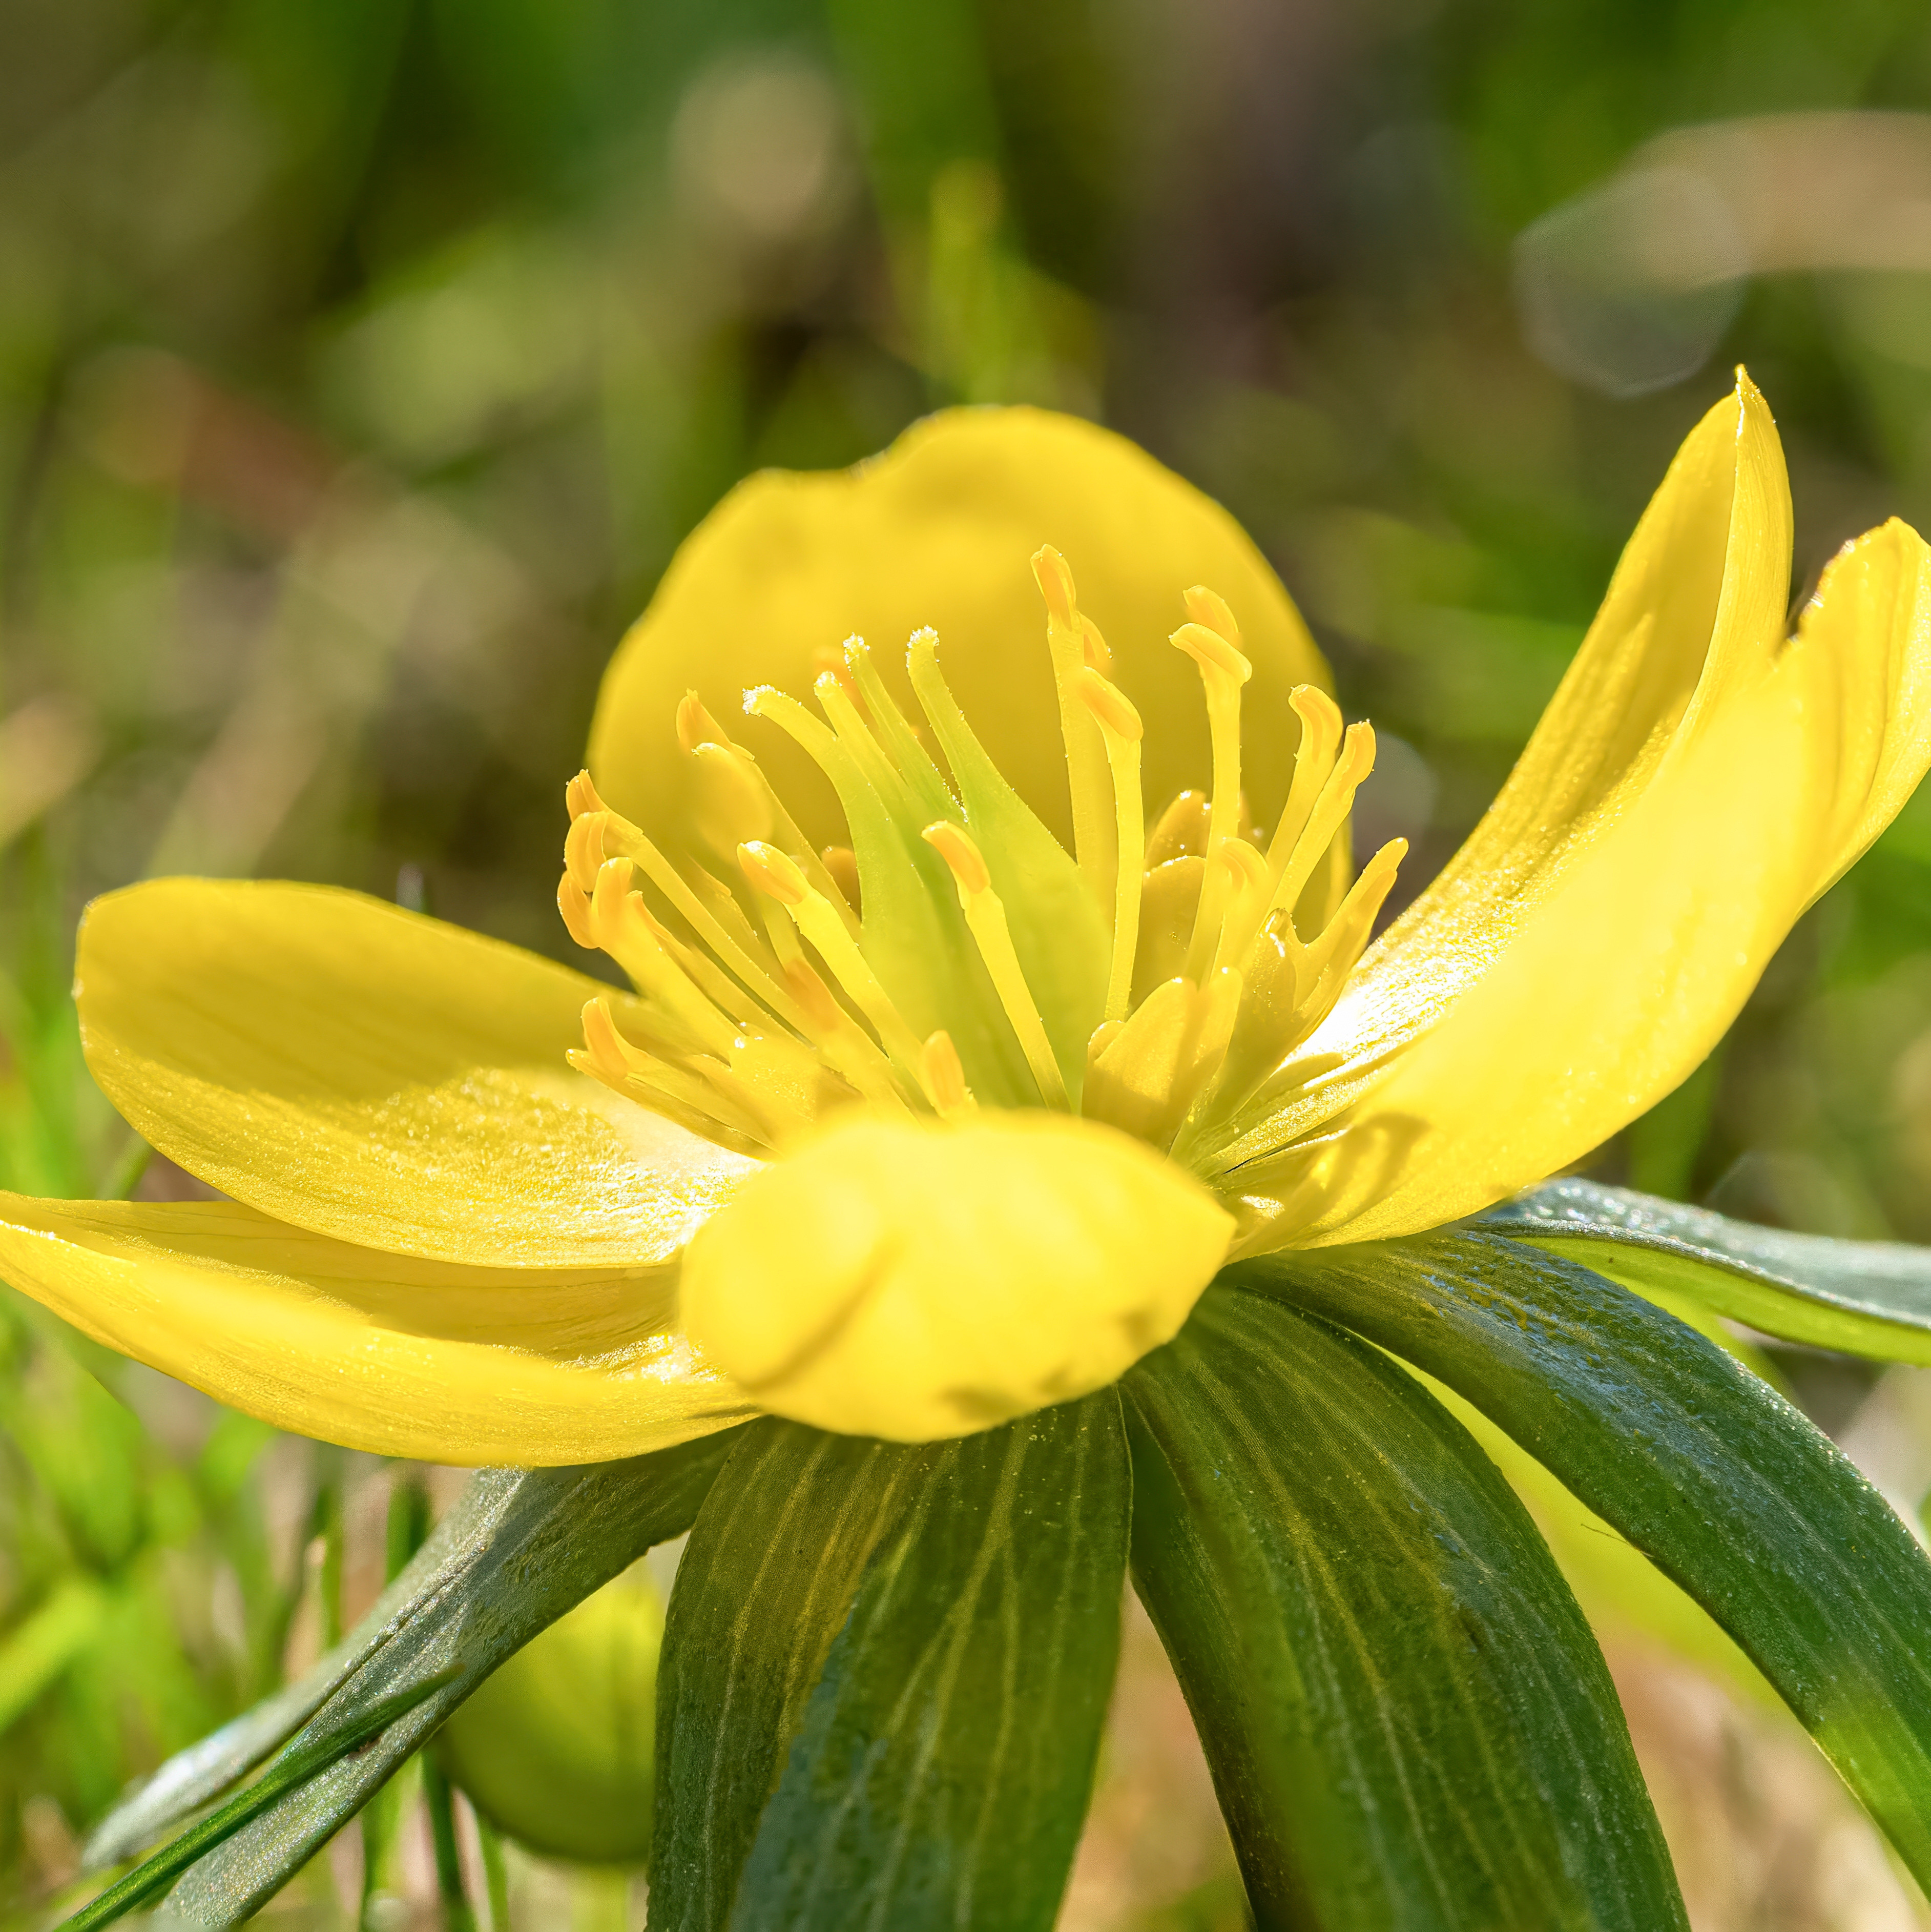
Winter Aconites (Eranthis hyemalis)
Brilliant yellow flowers that create carpets of colour in late winter.
Flowers: Late winter
Ideal for: Woodland gardens and shaded areas
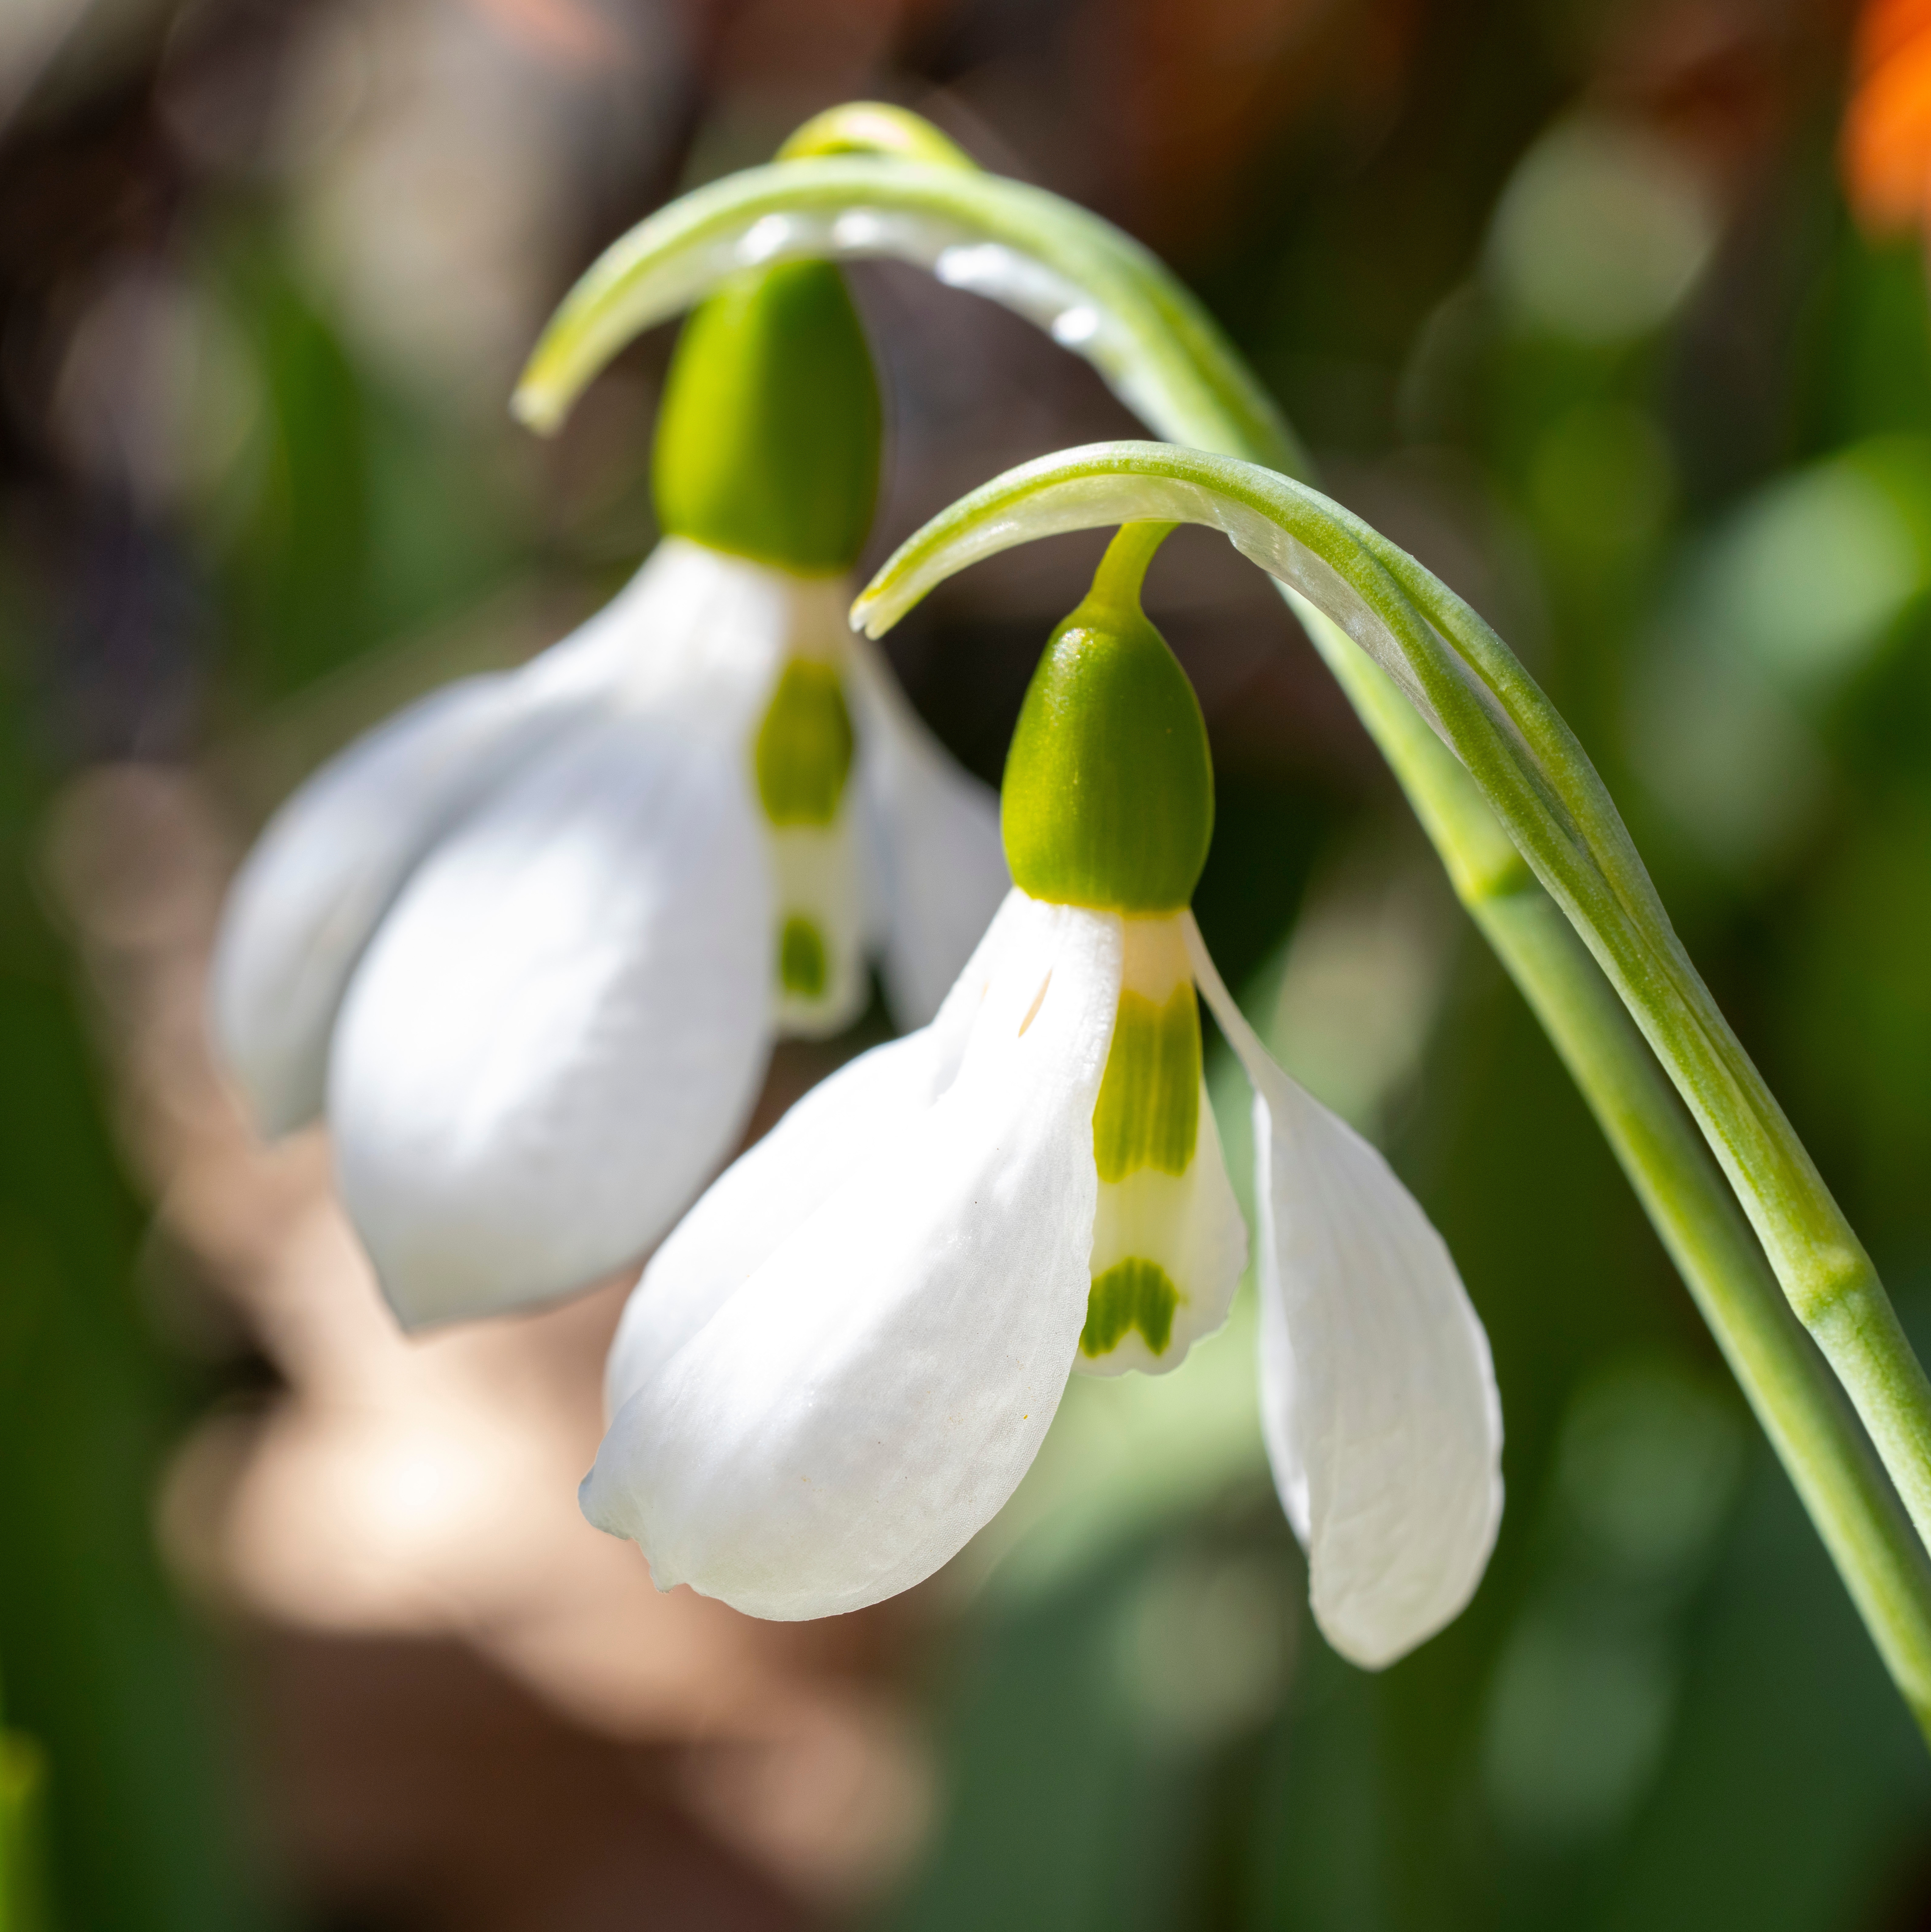
Snowdrops (Galanthus)
Delicate white flowers that often emerge while winter is still lingering.
Flowers: Late winter
Ideal for: Woodland planting and beneath deciduous trees
π³ Spring Bulbs for Shade and Woodland Gardens
Many spring bulbs thrive beneath trees and shrubs, making them perfect for brightening difficult areas of the garden.
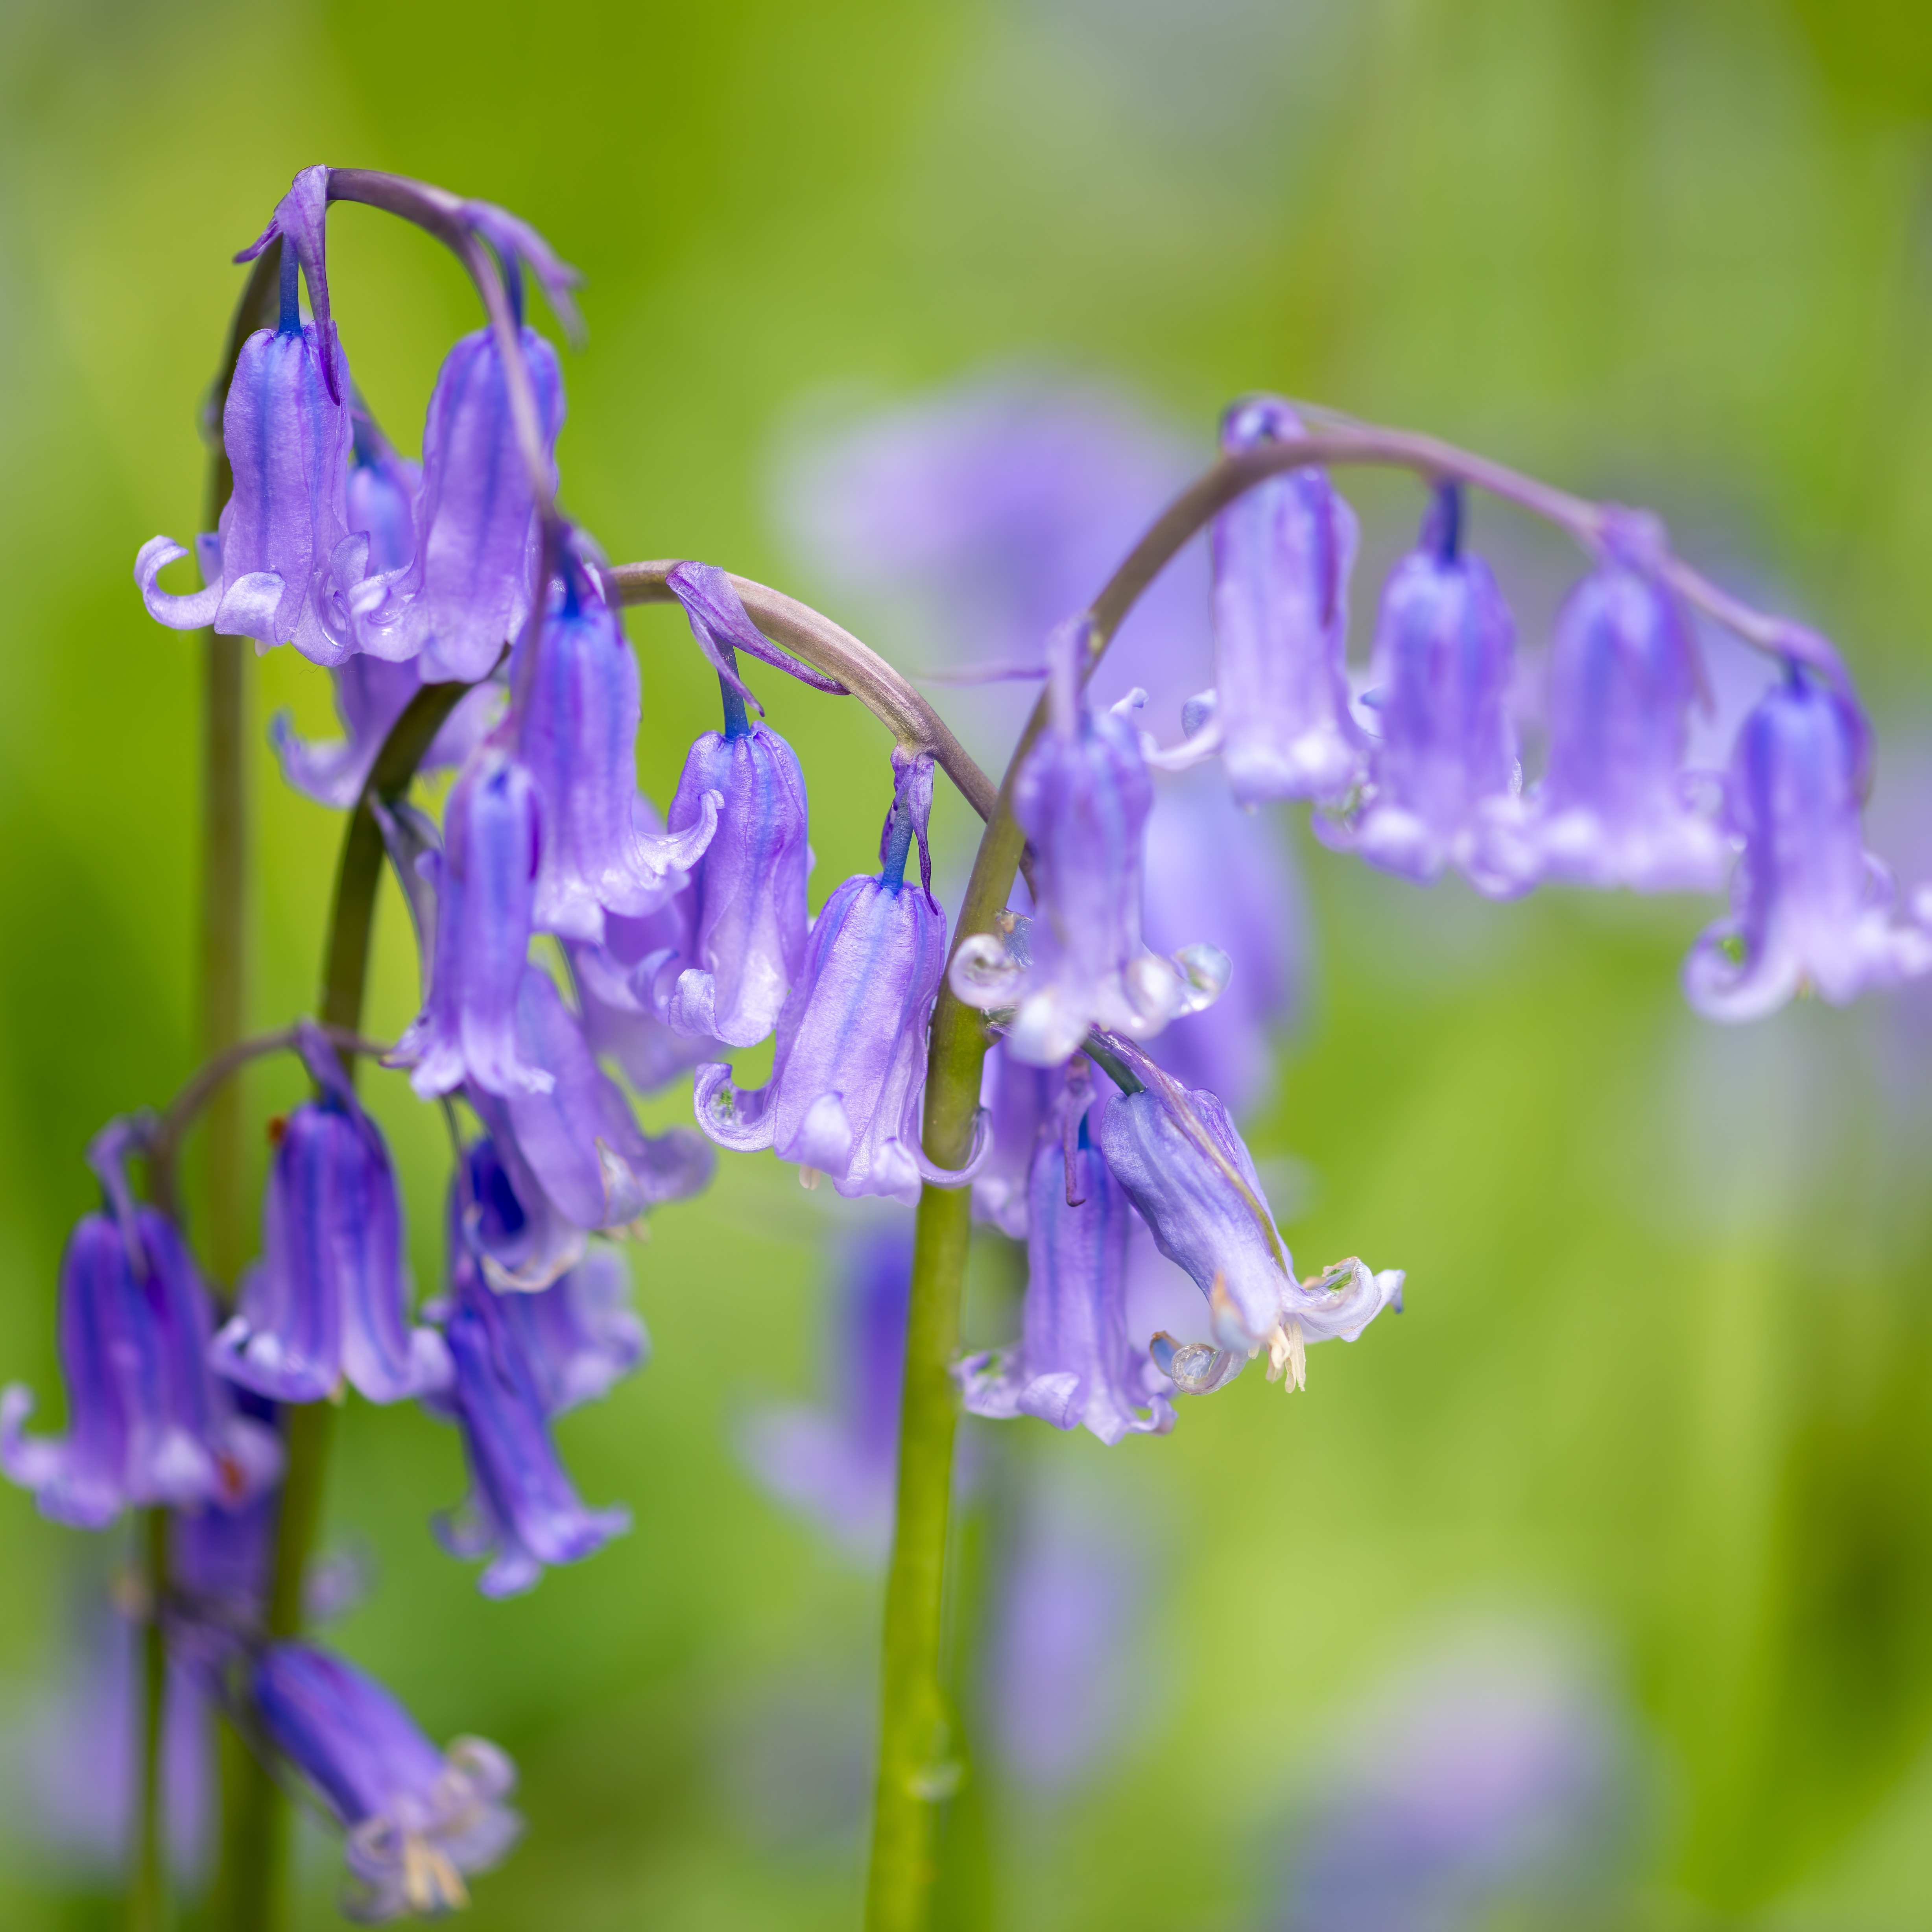
English Bluebells (Hyacinthoides non-scripta)
A quintessential woodland bulb that produces stunning drifts of blue flowers.
Flowers: Mid-spring
Ideal for: Woodland gardens and shaded borders
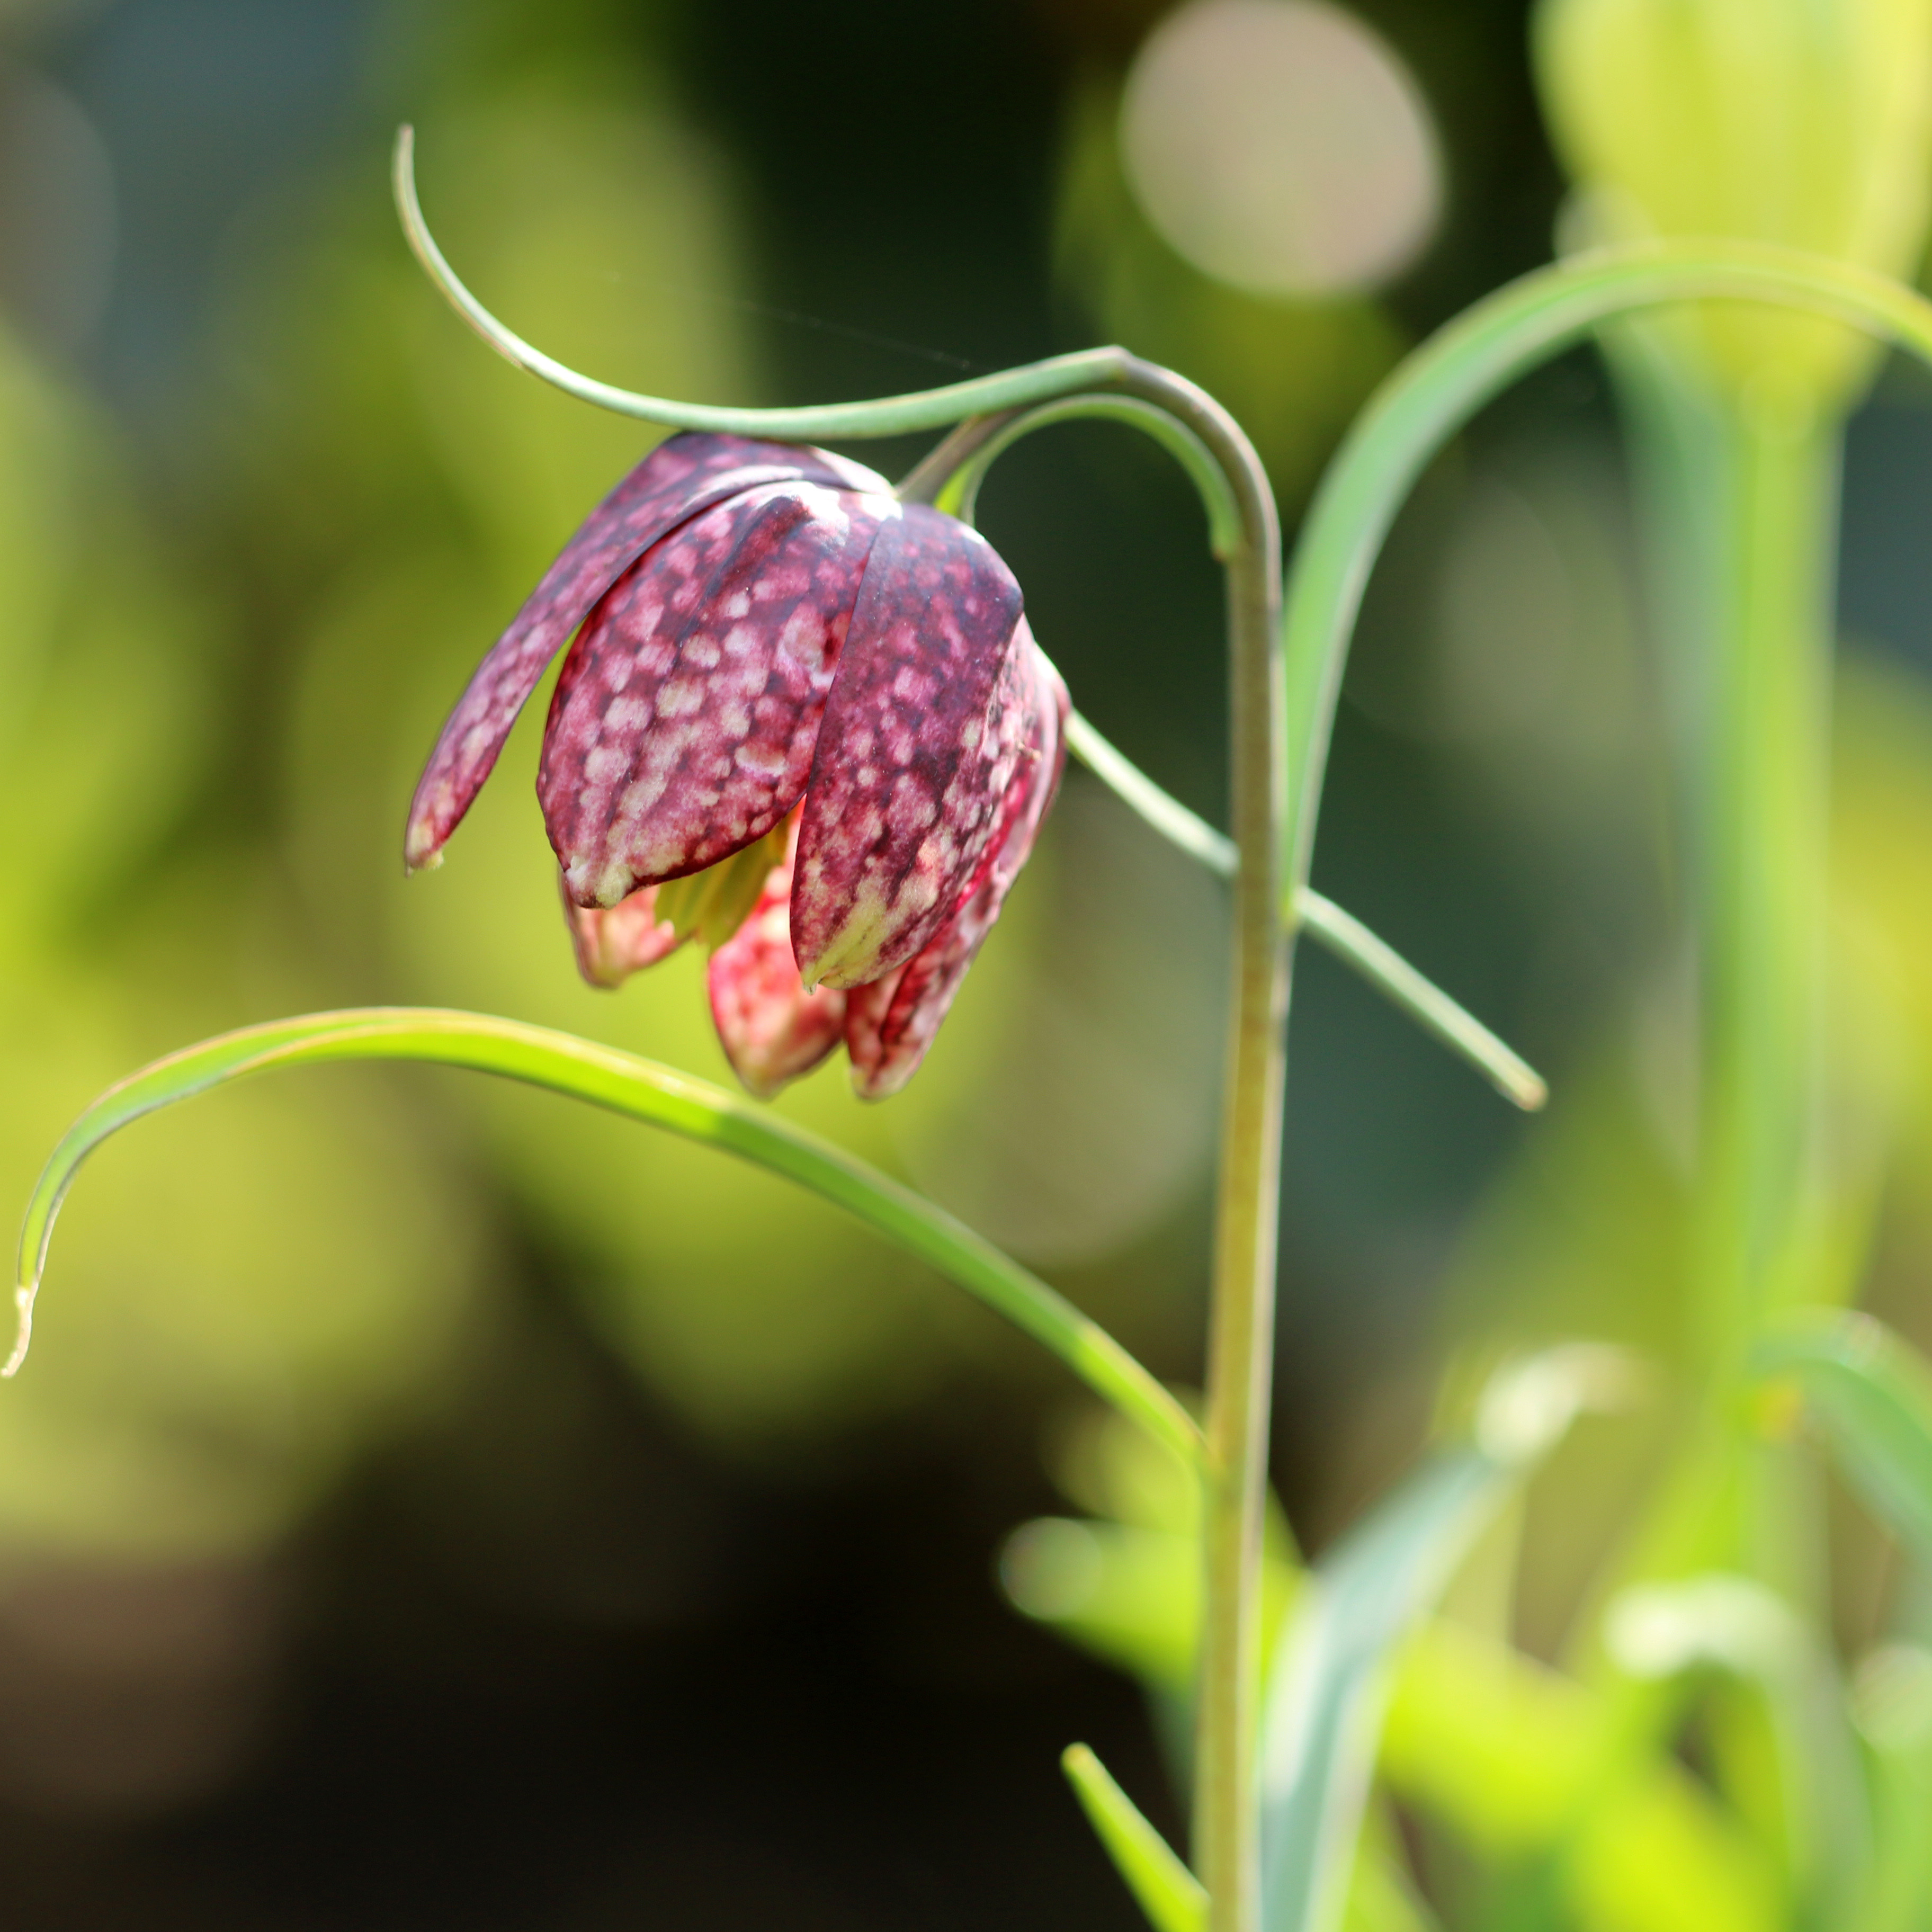
Snake’s Head Fritillary (Fritillaria meleagris)
An elegant native wildflower with distinctive chequered blooms.
Flowers: Mid-spring
Ideal for: Damp soils and wildlife-friendly gardens
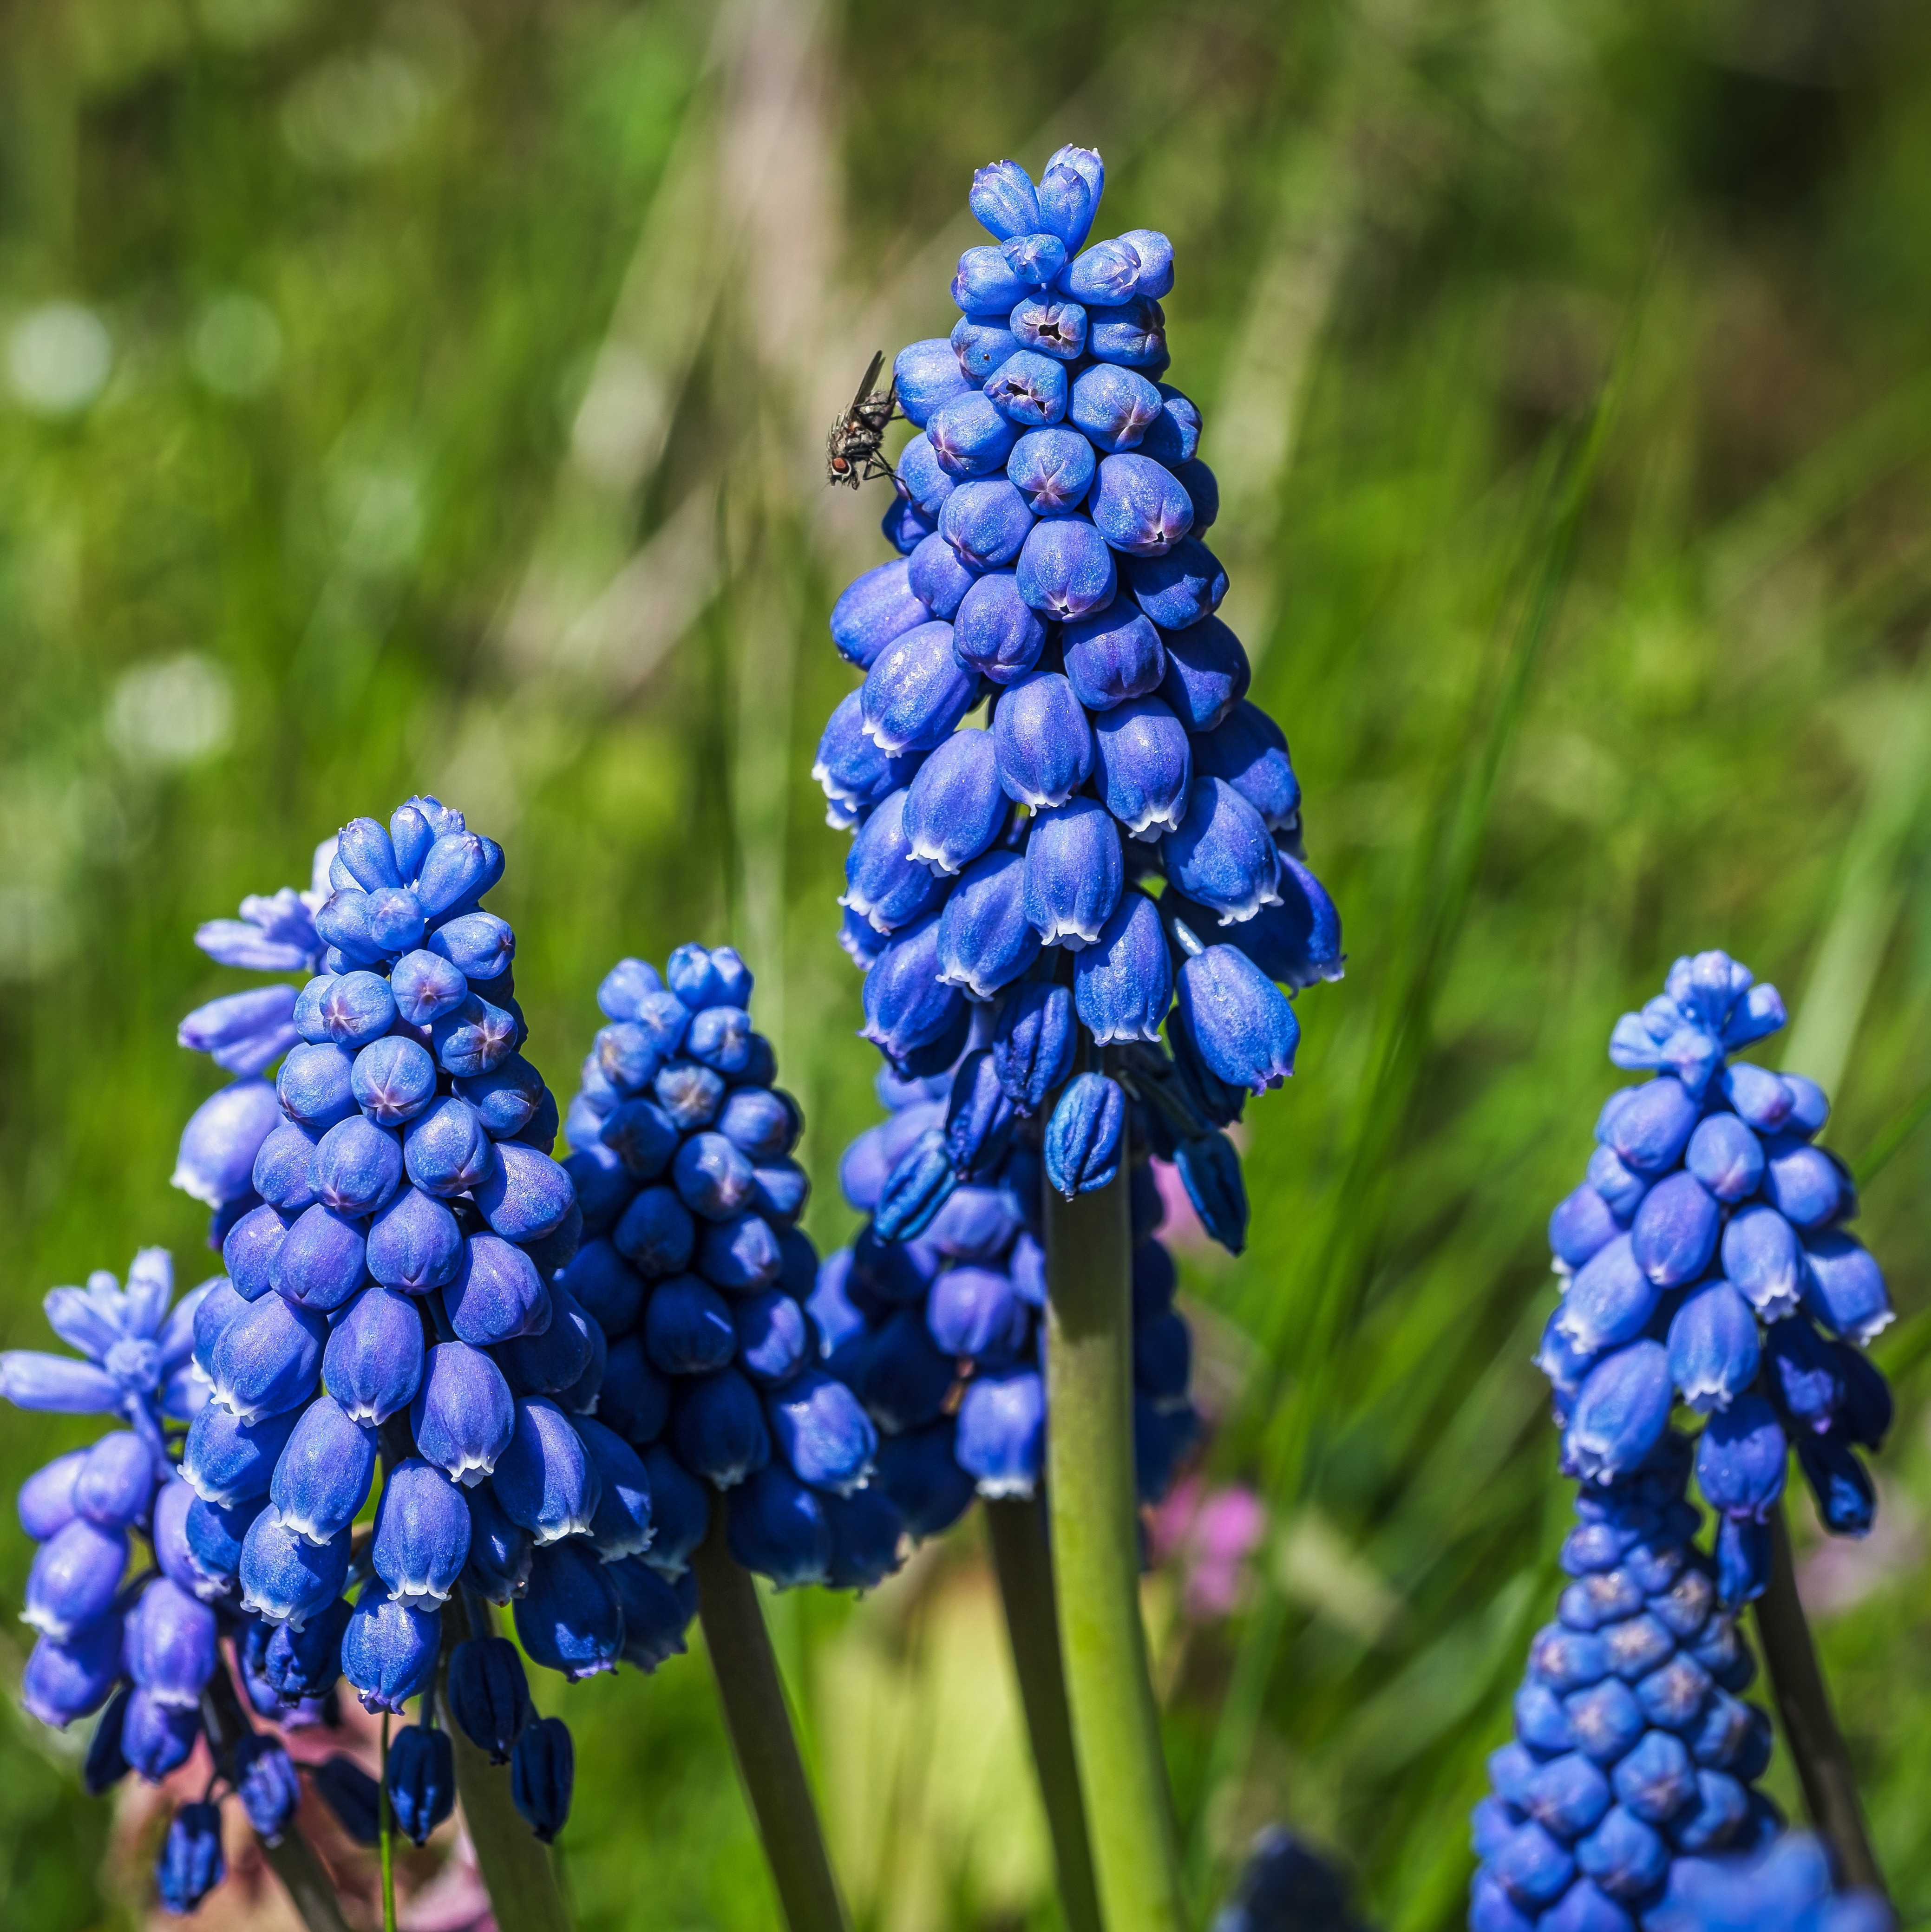
π Grape Hyacinths (Muscari)
Compact spikes of blue, purple, or white flowers that naturalise easily and return year after year.
Flowers: Early to mid-spring
Ideal for: Woodland edges, borders, rockeries, and naturalised planting
πͺ΄ How to Plant Spring Bulbs Correctly
Planting spring bulbs is straightforward, but getting a few basics right will help ensure strong growth and reliable flowering next spring.
1οΈβ£ Prepare the Soil
Spring bulbs dislike sitting in wet soil during winter. Before planting, remove weeds and loosen the soil to improve root growth. If your garden has heavy clay soil, incorporate organic matter or horticultural grit to improve drainage.
2οΈβ£ Plant at the Correct Depth
As a general rule, bulbs should be planted at a depth of two to three times their own height. Planting too shallowly can leave bulbs vulnerable to frost, while planting too deeply may reduce flowering performance.
| Bulb | Approximate Planting Depth |
|---|---|
| Crocuses | 10cm |
| Snowdrops | 10cm |
| Hyacinths | 10cm |
| Iris Reticulata | 10cm |
| Daffodils | 15cm |
| Tulips | 20cm |
| Large Alliums | 30cm |
3οΈβ£ Position the Bulb Correctly
Place bulbs with the pointed end facing upwards and the flatter root plate facing down. If you’re unsure which way is up, simply plant the bulb on its side and it will naturally orient itself as it grows.
4οΈβ£ Allow Enough Space
Avoid overcrowding. Space bulbs approximately twice their own width apart. This allows them to establish well without overcrowding and creates a more natural-looking display.
5οΈβ£ Water Only When Necessary
Bulbs planted in borders and beds rarely need watering in autumn, as seasonal rainfall is usually sufficient. However, bulbs grown in containers may need occasional watering during prolonged dry spells.
πͺ΄ Planting Spring Bulbs in Pots and Containers
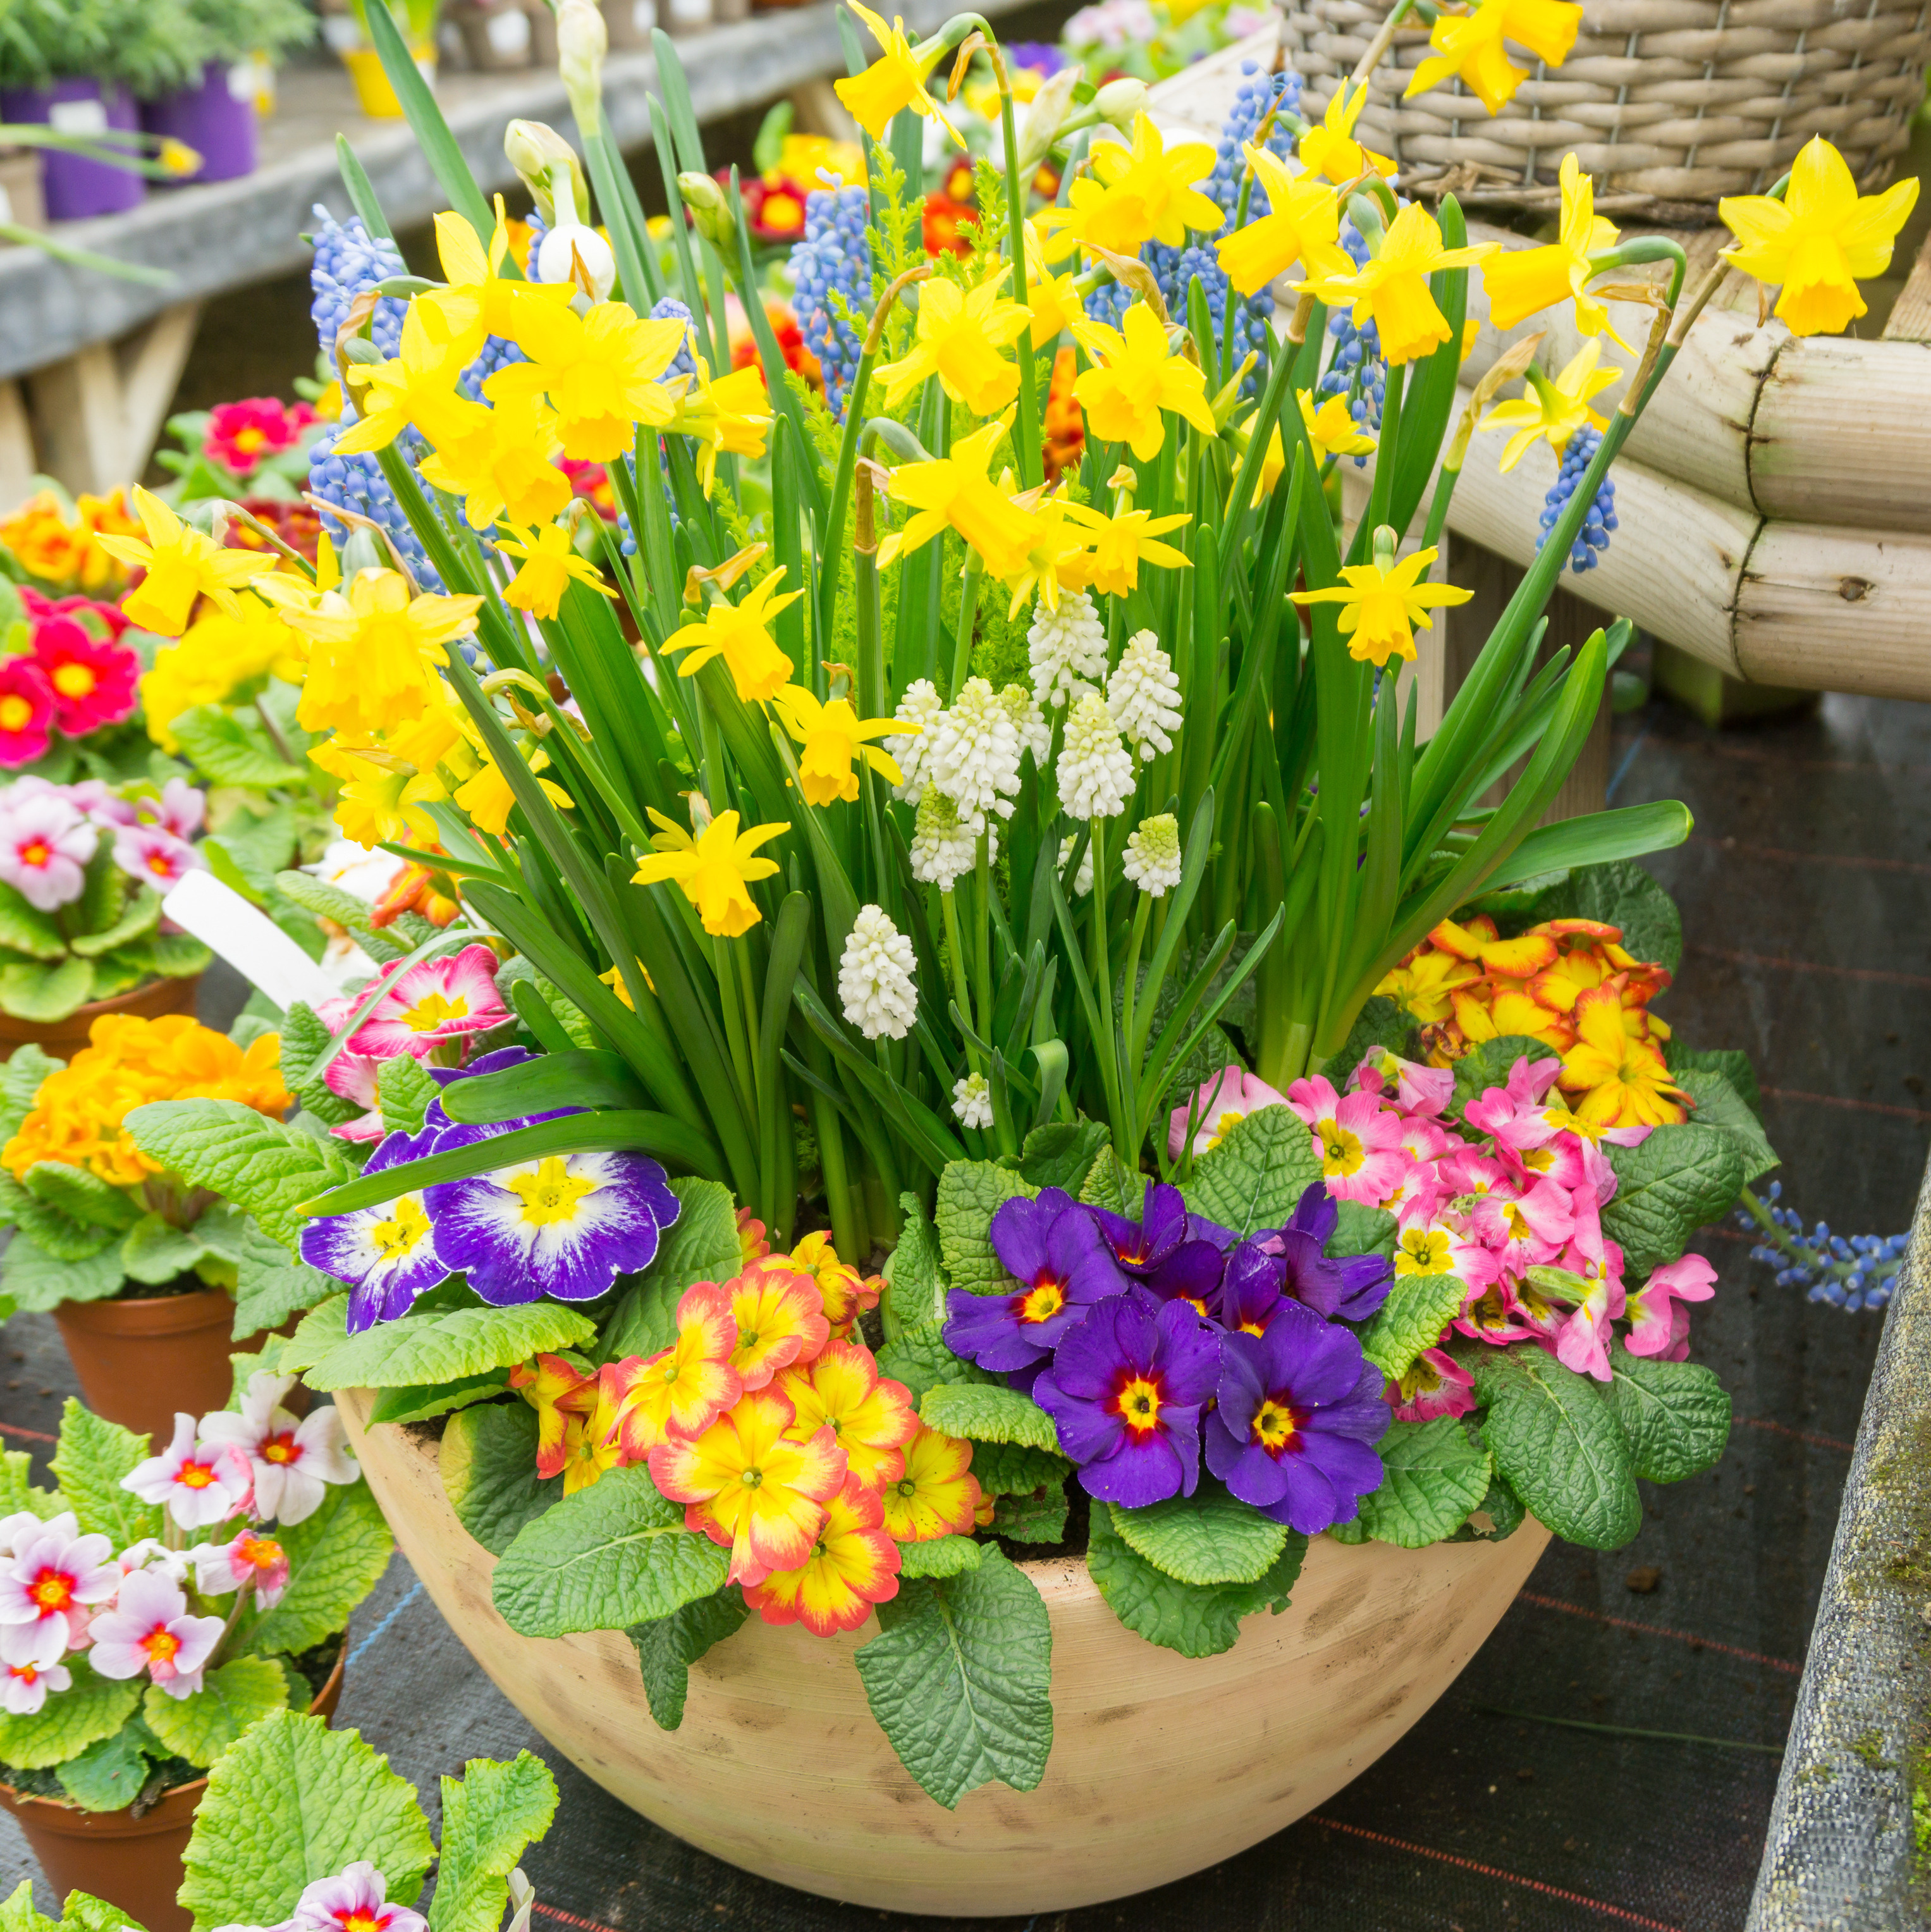
Spring bulbs are perfect for pots and containers, making it easy to enjoy colourful spring displays on patios, balconies, doorsteps, and smaller gardens. Containers also allow you to experiment with different bulb combinations and create eye-catching seasonal displays.
Choose the Right Container
Most spring bulbs grow happily in pots, provided they have good drainage. Always choose containers with drainage holes and add a layer of grit, broken crocks, or drainage material at the bottom to prevent waterlogging.
Fill your container with good-quality peat-free compost and, if desired, mix in a little horticultural grit to improve drainage further.
Layer Bulbs for a Longer Display
One of the most effective ways to maximise colour in a container is the bulb lasagne method, where bulbs are planted in layers according to their flowering season. As one layer fades, the next begins to bloom, creating a long-lasting display that can brighten your garden for months.
Bottom Layer
- Tulips
- Other late-flowering bulbs
Middle Layer
- Daffodils
- Hyacinth
- Mid-season flowering bulbs
Top Layer
- Crocuses
- Grape Hyacinth
- Other early-flowering bulbs
Add a layer of compost between each level and ensure the bulbs do not touch each other.
π³ Naturalising Spring Bulbs in Lawns and Borders
Many spring bulbs naturalise beautifully, returning year after year and gradually spreading to create drifts of colour. This informal style of planting works particularly well in lawns, beneath deciduous trees, and throughout borders.
Choose bulbs that suit the growing conditions in the area you are planting, taking into account factors such as sunlight, shade, soil type, and moisture levels.
How to Create a Natural-Looking Display
Rather than planting bulbs in straight rows, gently scatter them across the planting area and plant them where they land. Varying the spacing and group sizes will create a more natural effect.
When planting bulbs in a lawn, lift a section of turf with a spade, plant the bulbs beneath, and carefully replace the turf. In spring, allow the foliage to die back naturally before mowing. Consider marking the area with a discreet plant label so you can easily identify where bulbs are growing when carrying out garden maintenance later in the year.
Expert Tip: Plant bulbs in groups of at least 7 to 15 for the strongest visual impact. Larger drifts create a much more natural and impressive display than individual bulbs scattered throughout the garden.
πΏ What to Do After Spring Bulbs Have Flowered
A little aftercare goes a long way in ensuring your spring bulbs return with a spectacular display next year.
β Deadhead Spent Flowers
Once flowers begin to fade, remove the spent blooms to prevent the plant from putting energy into seed production. This allows the bulb to focus on storing energy for the following season.
β Leave the Foliage
Resist the temptation to tidy up too quickly. The leaves continue to photosynthesise after flowering, helping the bulb build up reserves for next year’s blooms. Allow foliage to die back naturally before removing it.
β Feed the Soil
After flowering, apply a layer of compost or a balanced fertiliser to replenish nutrients and encourage healthy bulb development.
β Remember Where Bulbs Are Planted
If you plan to add new plants later in the season, it can be helpful to mark bulb locations while they are still visible. This reduces the risk of accidentally disturbing them during summer planting or garden maintenance.
β Keep the Colour Going
As spring bulbs fade, many gardeners choose to introduce summer-flowering plants to maintain interest in beds, borders, and containers. This simple succession planting approach ensures your garden remains colourful and attractive throughout the growing season.
π Pro Tip: Consider planting spring bulbs amongst perennials. As bulb foliage dies back, the emerging foliage of neighbouring plants helps disguise it naturally.
πΏ Visit Our Garden Centre in Kington
Spring bulbs bring colour to the garden just when it’s needed most. Careful planning and a mixture of flowering times will keep beds, borders and containers looking their best from late winter through to late spring.
Β Visit usΒ inΒ Kington today. Explore our extensive range of premium spring bulbs, gardening tools, composts, and expert advice to create your most colourful spring garden yet.